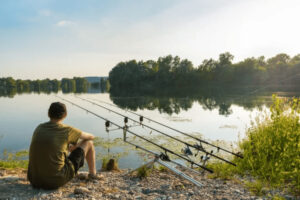
Learning how to use a marker float rod and learning how to spod is a very important skill that will hugely improve your catch rate almost immediately.
Whether you’re out carp fishing, bream fishing, tench fishing, used correctly, these can get some noticeable results from your fishing. Before I go on and talk about each individual aspect separately, I want to just touch and one of the biggest mistakes that I see with spod and marker tackle, rods and reels.
I see a lot of people go out and spend an awful lot of money on big expensive carp rods and reels that are perhaps capable of fishing 150 yards, then they’ll spend the budget end on the spod rod and marker float rods and reels, which are only capable of fishing only 80 yards. There is a complete imbalance of tackle if you can’t feature find and bait up at the same distance as your fishing rods with your rigs on, there’s not really much point using the marker float or spod.
So make sure you get your balance between your fishing rods and your spod and marker float setup.
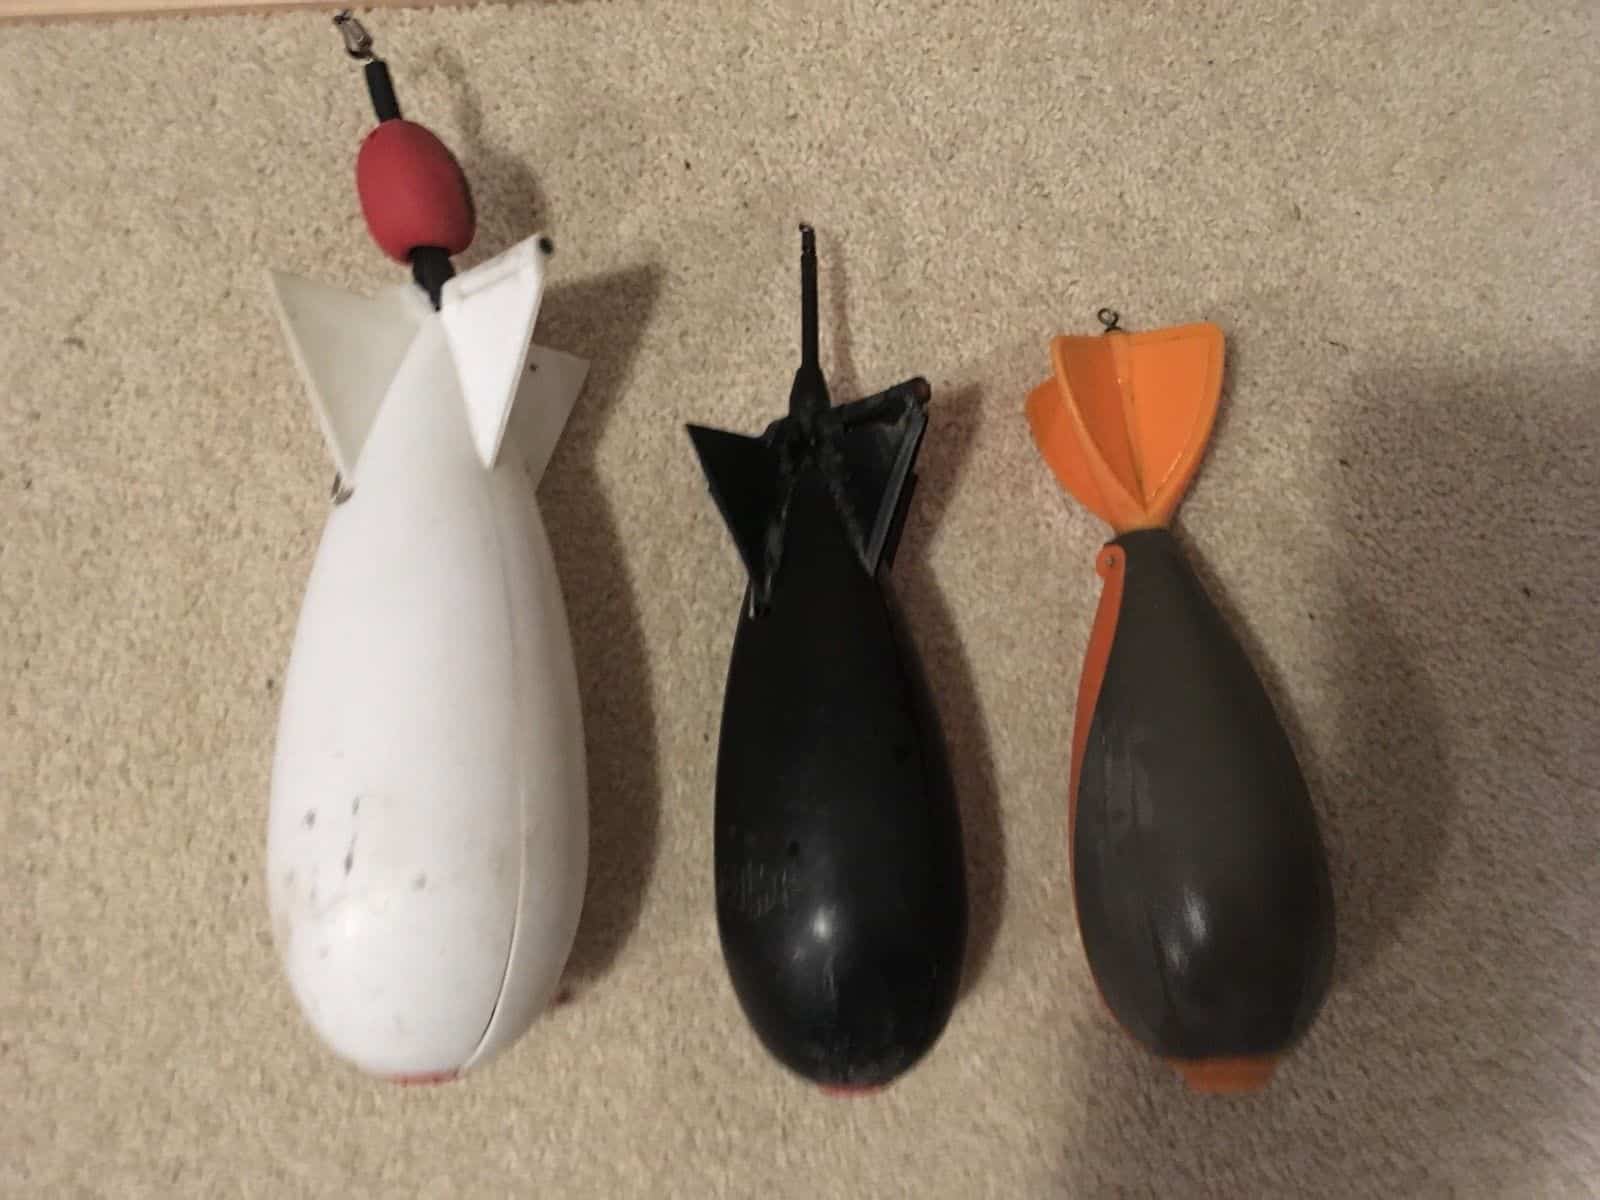
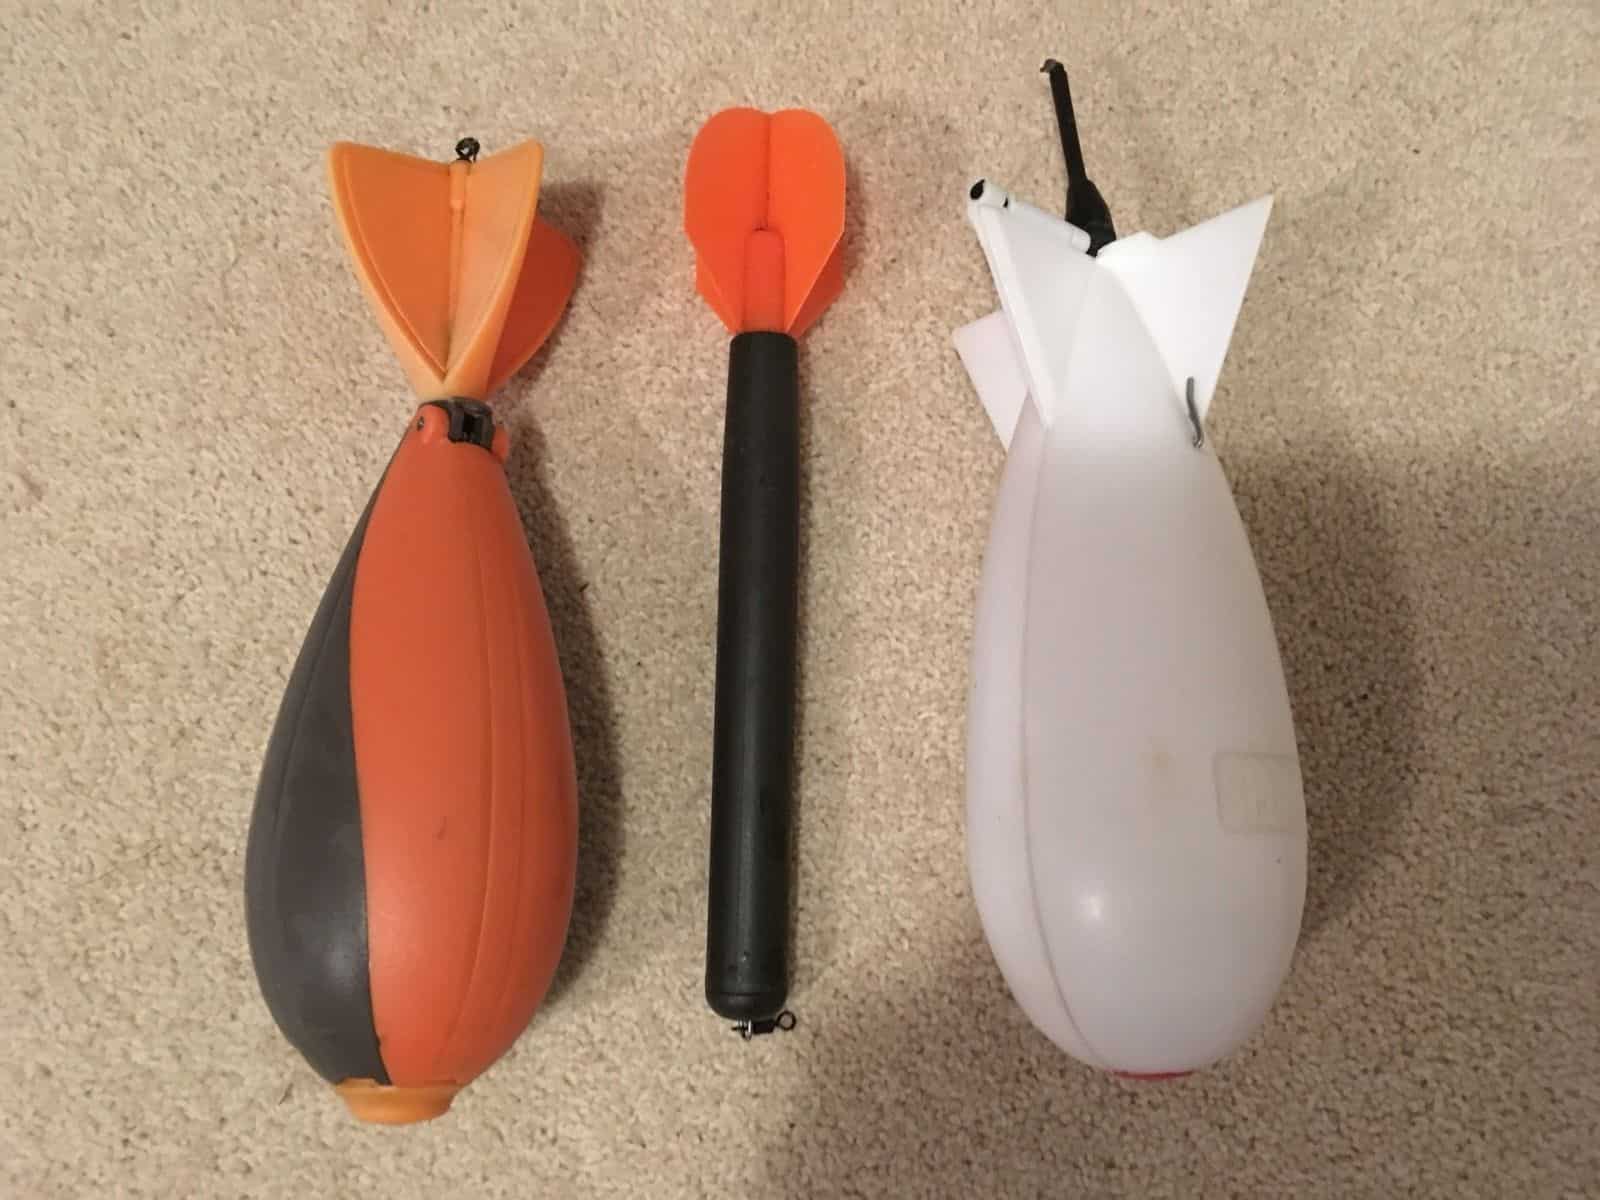
Large Spomb, Medium Spomb and Fox Spod
How To Use A Marker Float Rod
Let’s talk about how to use a marker float rod because this is probably the first rod you should be getting out of your rod bag.
When you start a new campaign on a new water or fish a new swim, in essence, what the marker float allows you to do, is to find all those little spots underwater that you can’t see from the bank.
Obviously, on the surface, you can see good areas such as reed beds or islands, but you can’t see what is under the water such as gravel spots, clear spots, gravel bars or weed beds.
Once you pick your tackle, you’ve balanced your spod rod with your reel, you need to load the reel up with braid and that’s very important.
When you are using the marker float, all the little vibrations that are on the bottom, transfers through the braid, the rod and into your arm. Without braid, that becomes very hard to feel the virbrations because of the stretch in normal fishing line such as monofilament, so using braid is very important for spod and marker float fishing.
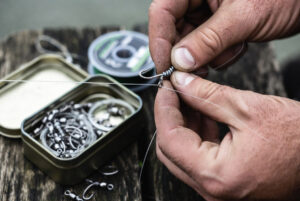
As far as marker set-ups go, there so many on the market, pick one that suits you such as the Korda Drop Zone Marker Float Kit. Make sure you are using a feature finding lead. Feature finding leads normally have spikes or bobbles on, so when you are pulling the lead over gravel, the lead has a larger surface area and the more bobbles you have got on the lead, the more you’ll feel the vibrations transfer through your rod.
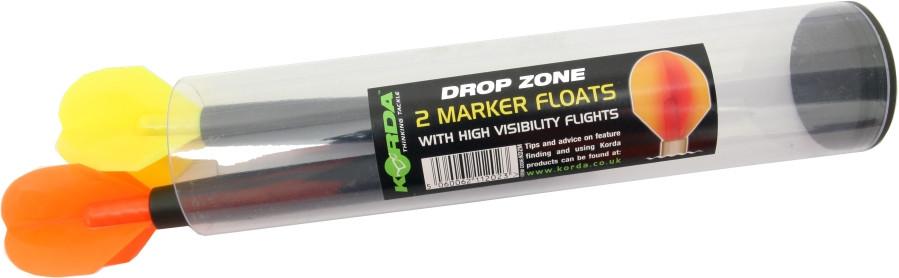
Korda Marker Floats
With regards to the float, I pick a color that’s very visual when fishing at a long range. You want to be able to see it easily, I like having a black fin and an orange fin depending on the lighting conditions. When the light is bright and there are reflections off of the lake, you will see the black fin better than the orange or yellow. When it is overcast or not very sunny, the orange and yellow fin will be more useful.
So that’s the actual tackle, there are loads of different variations on the market, pick something that is good, get used to it and just stick with it.
Now, what you are trying to do with the marker float like I said, is to try and find those little sweet spot areas. You will have to cast the marker around quite a lot and you’ll be making a little bit of noise, unfortunately, but once you’ve done it, you can log it for future reference in a fishing log book or on a printed map of their lake from Google maps and the next time you fish that swim, you will be alot quicker when finding the features.
How to use a marker float for depth
Cast the marker float out, when the market float and lead hits the bottom, you will be able to use the float to measure the depth of the lake. The first thing to do when using the marker float to measure depth is to make sure the drag on your fishing reel is tight, cast the rod out and feel the lead down until you feel it hit the bottom.
Reel the line in to make sure the marker float is on the bottom of the lake otherwise you will not get an accurate depth reading. Loosen off the drag on the reel to allow you to pay out the fishing line, then pull the line away from the reel to let the marker float up to the surface. To measure the depth, you need to pull the line off of the reel one foot at a time, each time you let the line out, that equals 1 foot of water in depth. If you pull the line out 6 times and the float pops up on the surface, that means the water is about 6 foot deep.
Sometimes, the lead may land in weed, tangling the marker float, which may mislead you when you are counting the depth, so make sure the float is moving freely before counting the depth.
Once you have the depth for that spot, it’s just a case of repeating with each of the different spots in your swim and noting it down on a map.
Another method of finding out the depth is to use a Deeper Pro Plus fishfinder, which will give an indication of depth without having to thrash the lake with the marker float and potentially scare the fish away. This is a much more simple method of finding out the depth, but slightly less accurate.
Identifying What’s On The Lake Bed
There are four areas that you should be looking for with the marker float. A lot of people like to fish on gravel bars, there is also silt, clay and weed, they are basically the main areas that you should be looking to find. Typically we don’t fish on the weed, but the nearby silt, gravel or clay and great places to fish.
I’ll try and explain what they feel like to anybody that hasn’t done much markering. If you find gravel you should feel little vibrations and knocks on your rod tip and you will know that’s gravel. Clay and silt pretty much just feel like you’re pulling the lead over a shiny surface, If it’s quite smooth and comes back with no knocks, I would guess it’s going to be clay or silt – you can get an indication whether its clay or silt when you reel in, there may be deposits of either of them on the lead. You’ll never ever going to get this spot on but this is a rough guide.
You could clip your line up on that spot and then use a FISHSPY to see exactly what the lake bed is made up of. This is the most accurate method of knowing what is on the bottom.
If you cast out and it’s locking up and snagging you know that you are likely in a weedy area.
Now all of these situations are fishable, you just need to adapt your rig to what you’ve found. So your marker float is telling you what you are fishing on, and then the float is there to tell you the depth.
I typically cast out to a marker onto the far side of the lake, something ill be able to see even when it gets dark, either a tree on an island or the far margin, such as a tree or a gap in the trees (I’ve also been known to get my friend to walk around and put a glow stick in line with my spot so I have something to cast to when the sun goes down, then stop and pay the line off to let that float up every 5 or 10 yards and count how many feet deep that spot is. I think it’s becoming less popular now to use a float, but it does give you an accurate depth.
By checking the depth of the lake, you will be able to identify gravel bars because the lake will be not as deep on top of the gravel bar. Equally, you’ll be able to find channels because it will be deeper on that particular spot.
So that’s the idea of the marker, it helps you to find all those little spots you didn’t even know we’re there and you can spend a little bit I’m doing this, as long as you’re not crashing it in front of other peoples swims you can build a really good picture in your mind, but hopefully you are writing the depths down or marking up a map with the depths, once you’ve logged that swim, write the details down for next time.
Using Distance Sticks For Accuracy
Once you’ve done that, you will need to come up the bank and wrap your line around some distance sticks. This is so you know how far each spot is, you need to clip your marker rod line up to it and you’re fishing rods up to the same distance, distance sticks are perfect for this. Put your line under your line clip once you find your spot, wrap it around your distance sticks and again write down how many rod wraps you are fishing for that spot.
Now, you have the distance to that spot, and a marker to aim aim on the other side of the lake or and island. The means you will be able to find your spot every time, without messing around or disturbing the swim.
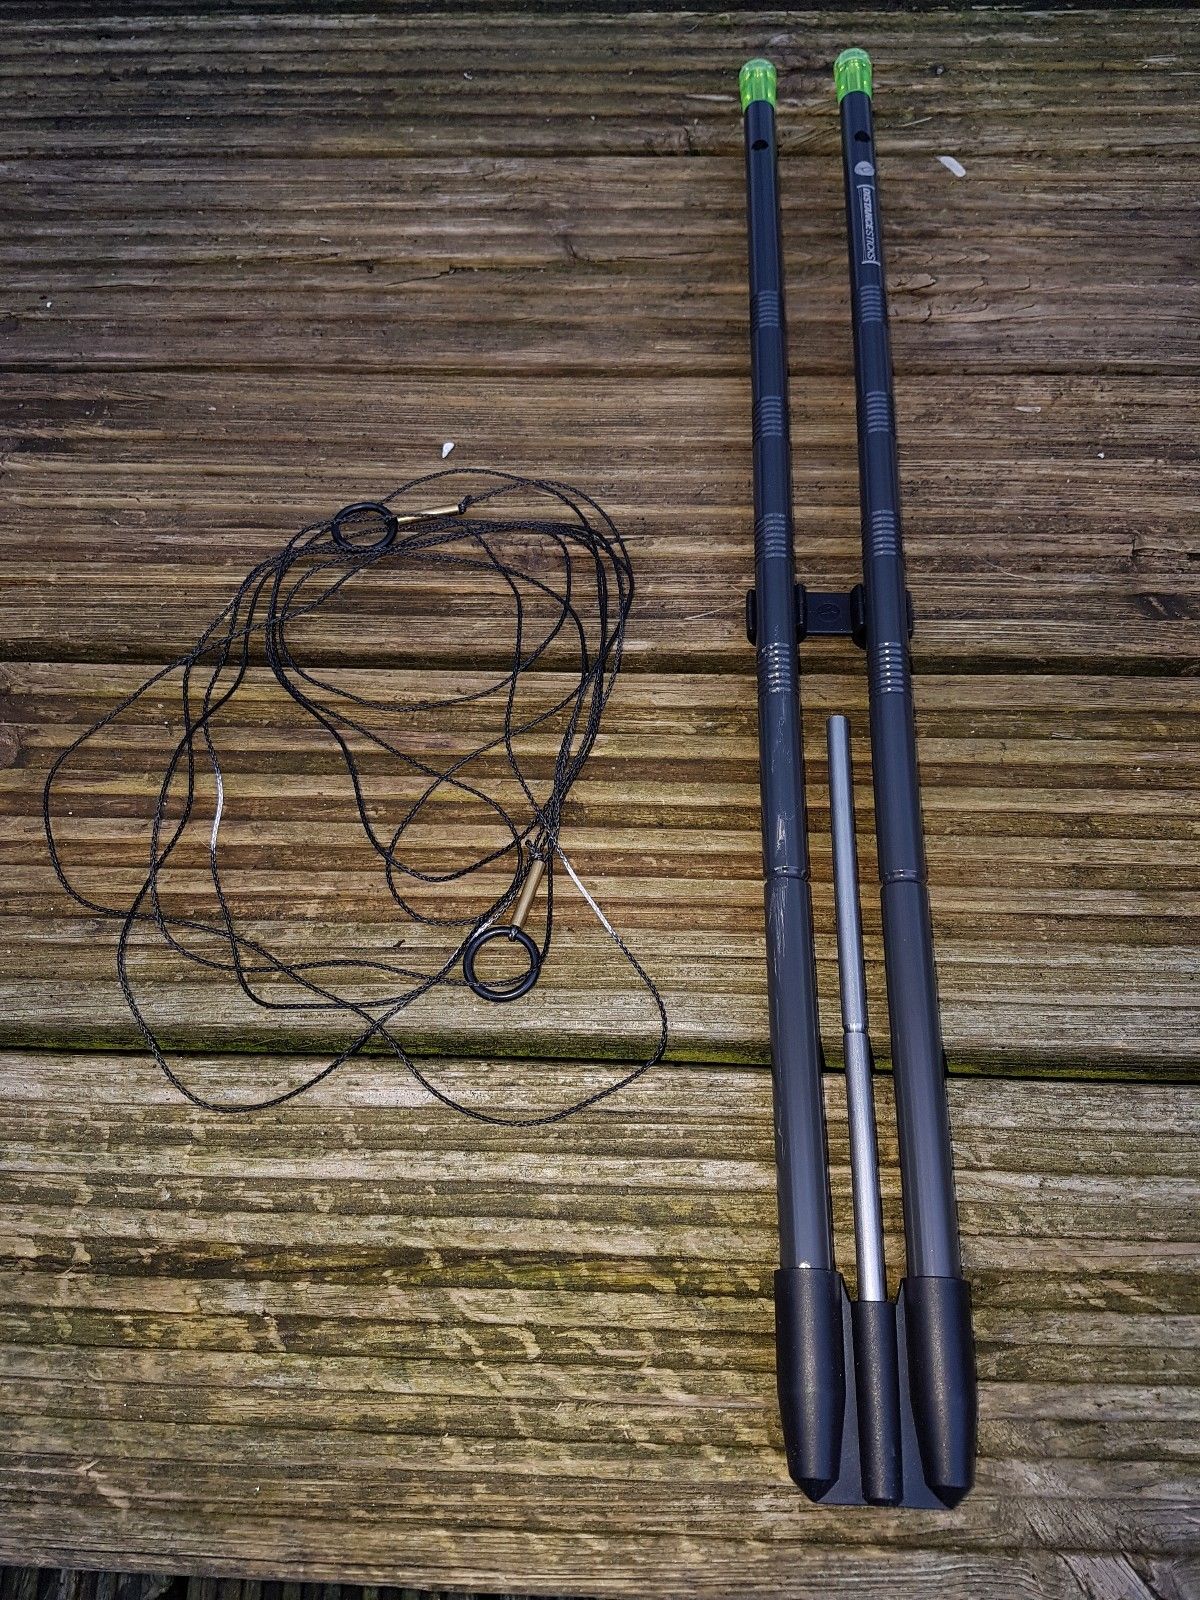
Korda Distance Sticks
Spodding and Putting Out Bait
Then let’s move onto your spod. So you know where your spot is, you now need to get some bait out there ready for your session to unfold and hopefully get some fish on the bank. So wrap your line back around the distance sticks, but now with your spod rod and clip it up to exactly the same distance as your marker rod, so you know that as long as you are casting to a point on the far side such as a tree or another swim, you’re going to be hitting exactly the same spot because you have your line on the line clip that was measured around your distance sticks.
Use A Shock Leader
Like I said before, you should be using braid with your spod rod, even more so than your marker float in fact. There are a couple of little differences with your spod, it’s a heavyweight that you are casting a lot is very repetitive, so to protect from crack-offs and any mishaps, I would use a braided shock leader tied onto your actual braided mainline. That should be a 40-45 lb shock leader, it’s gonna absorb all those constant lunges of spodding and it will save any mistakes going on.
Don’t Forget a Finger Stall With Braid
Also to protect yourself, if you are using braid, you must wear a finger stall of some description, repetitive casting with braid really does cut into your finger and it is quite painful. If you’ve never experienced it, so a finger stall is quite important as well.
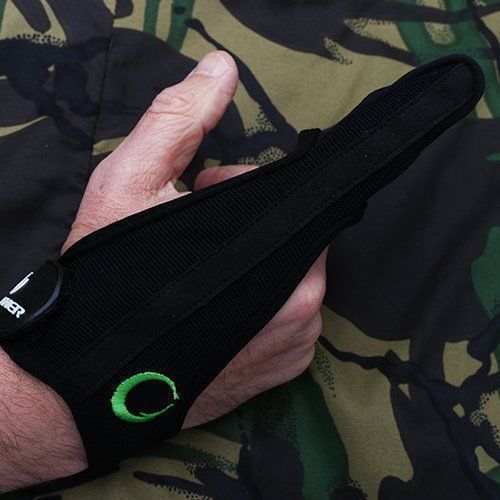
Finger Stall For Fishing with Braid
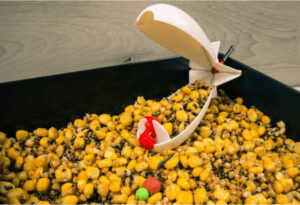
Which Spod or Spomb To Choose
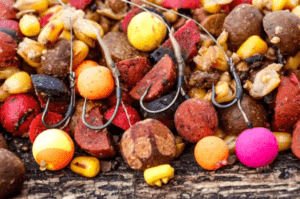
As far is actual tackle goes for spodding, there are a few different types. The main one is the traditional spod, it has been used to great effect for many years. There’s the spomb, which is probably the most popular model now and there’s also the impact spod, which is the kind of variation between the two. So again, this is going to have to be something that you pick which is the best for you and just stay with it. Just you get used to something, once you’re happy with it, it’s the way forward. That allows you to put out all manner of baits, pretty much everything will go in them, you’ve clipped your spot, you just cast out, put out your desired quantity and you are now you ready for your session.
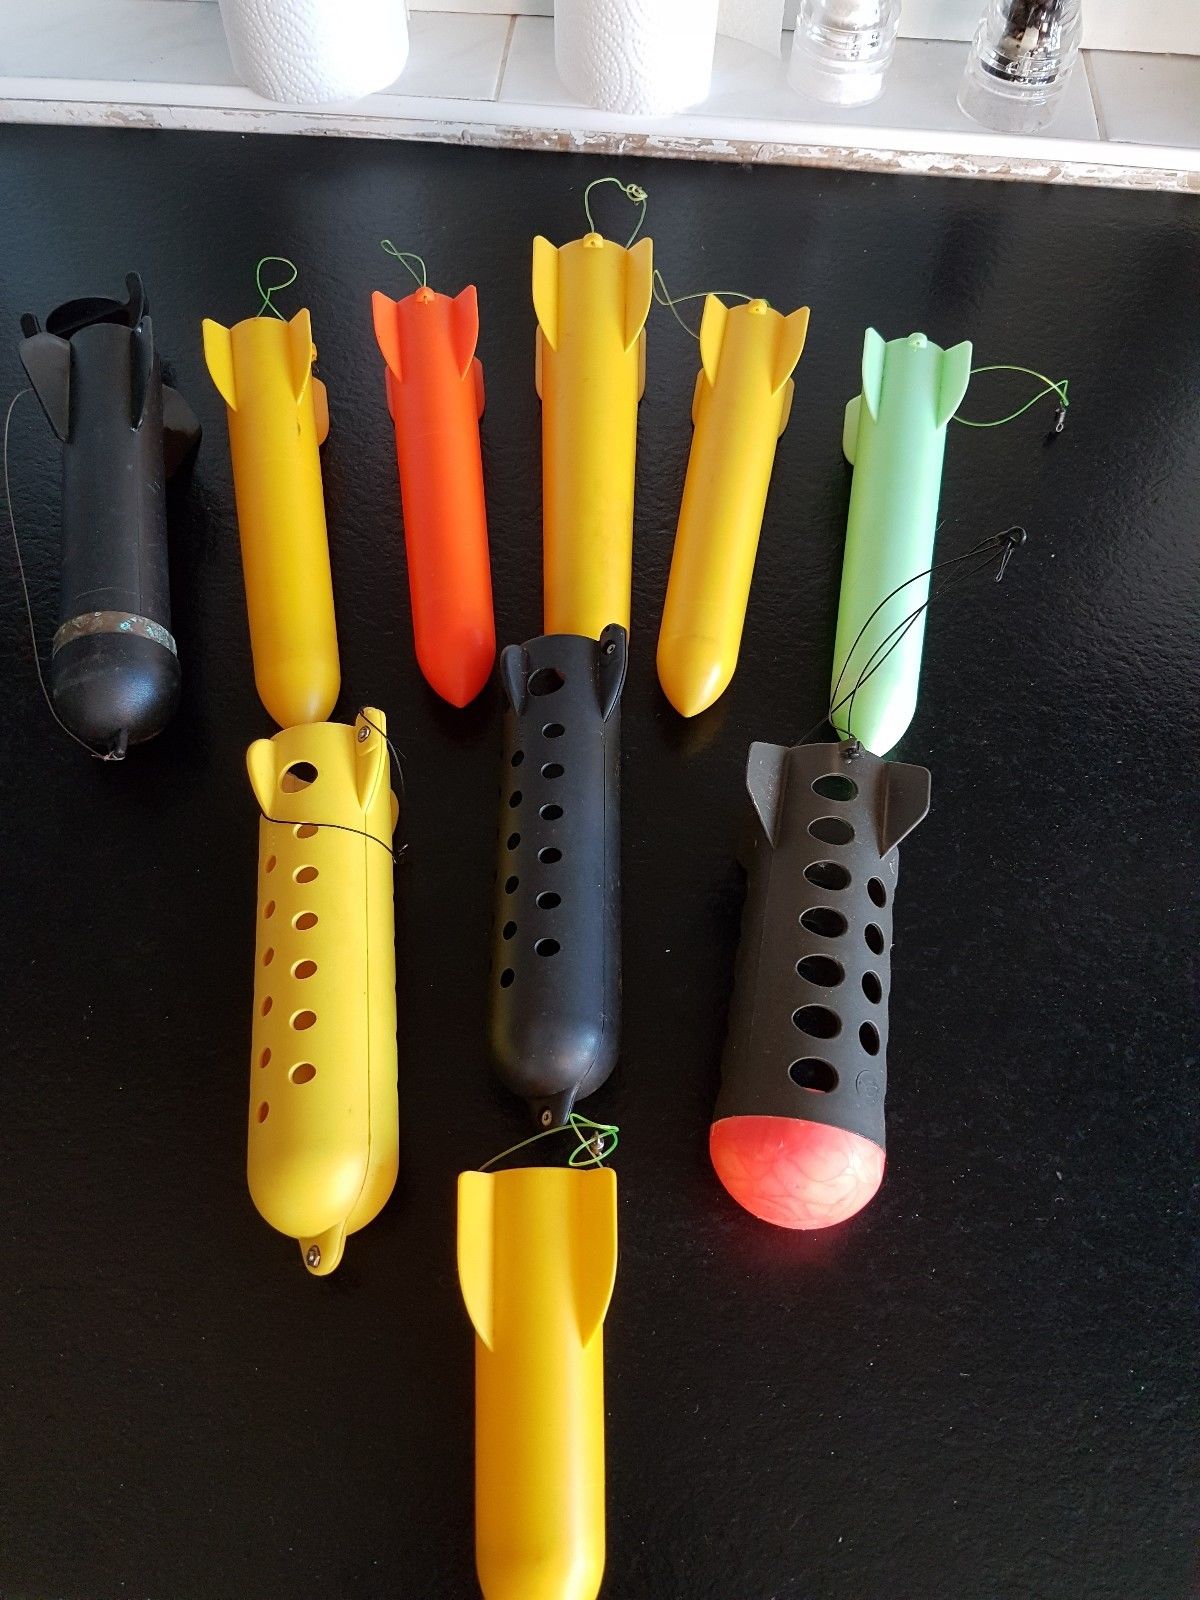
Different Types of Spod
Although, once you choose a style you like, there is a benefit to buying a few different sizes. Sometimes you will want a lot of bait out in the lake quickly, but sometimes you will only want a small amount, or just to top up the bait you already have out. The smaller sizes are great for topping up the swim.
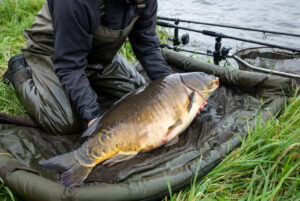
You found your spot you’ve baited it up, it’s all now in the fishing gods hands and hopefully, you’re going to be putting fish on the bank.
So if you haven’t done much of this before, buy the right kit, write down those few tips, get out there and give it a go.
Last Updated on March 10, 2026 by Shane
I have made a lot of mistakes during my fishing sessions and don't want you to make the same mistakes. I've learned the hard way over 20 years of fishing most weekends, testing, tweaking, and testing again and now want to help you excel with your carp fishing.
If you need any help, you can reach me at Fishing Again's Facebook page