If you are a beginner and asking yourself “How do you fish for carp?”, then I will explain briefly how you can get started with carp fishing.
Typically, people learn how to fish by learning from friends and family, others learn from watching videos and reading articles such as this one.
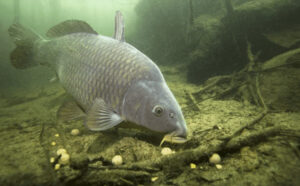
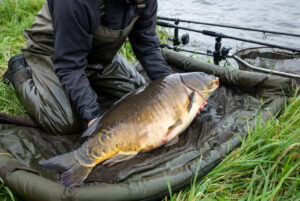
When you are learning how to fish for carp, you should target the smaller carp so you can practice how to catch them and how to care for the carp once they have been caught.
There are a few different methods of catching carp, ledger fishing, float fishing, and surface float fishing.
Ledger fishing is fishing with leads on the bottom of the lake and using the lead to set the hook into the mouth of the fish, causing them to bolt off, setting your bite alarm off.
Float fishing is fishing with a float from the bottom of the lake to the upper layers of water, the hook can be set at different levels in the water and adjusted according to where the carp are. You will know you have hooked a fish as your float will go under the water.
Surface float fishing is fishing on the top of the lake where the fish may be sunbathing, this method is more often than not used when the sun is out and the temperature is high. You will see the fish suck in the bait, which is when you strike the rod and set the hook.
Each method has their own place and all anglers will use each of the methods at some point.
Basic Carp Fishing Equipment
Keeping in mind that you should be targeting the small carp when starting out, you are going to need some equipment. Let’s go through the main tackle you will need to start ledger fishing.
- Coarse Fishing License
- Fishing rod
- Fishing reel
- 8lb fishing line
- Safezone leader or Rig tubing
- Quikclips
- Size 10 carp hooks
- Lead clips
- 1.5oz lead
- Swivels
- Bank sticks
- Bite alarm (and batteries)
- Bobbin
- Chair
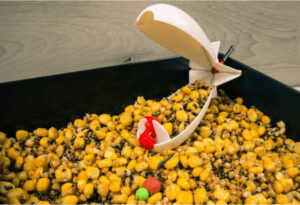
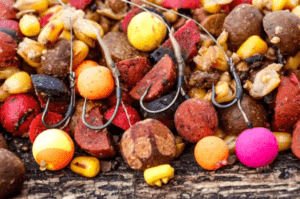
- Bait
- Boilie stoppers
- Scissors
- 36-inch fishing net
- Unhooking mat
- Forceps
- Carp care kit
- Ready tied hair rigs
- 5 Ltr bucket
Once you have your equipment you need to set it up so it is ready to go when you get to the lake.
To save wasting time at the lake, you could set up your rod at home and then break down the rod into two (or three pieces) with the end tackle set up, then all you would need to do is connect the rod pieces together at the lake and cast the rig in.
Setting Up the Fishing Reel
To start setting up, you will need to add your fishing line to the spool of your fishing reel.
Before you tie the knot, attach the reel to the bottom part of the rod, and feed the line through the first eye, back towards the reel and then tie the line to the reel.
The Arbor Knot would be the best knot to use for this because it is a slip knot and will tighten against your spool.
Next, you need to reel the line on to the reel.
To enable the reel to feed the line properly on to the spool, the line needs to be wet. Do this by filling your 5-liter bucket with water and put the line into the water and you will see it floats.
The bail arm down on the reel and start winding, but remember to put tension on the line by trapping the line against the rod with a towel (so you don’t get friction burns) as you are reeling so that it is tight on the spool. The line will feed off of the line spool and start filling the reel spool.
If at any point the line doesn’t reel onto the spool properly, pull the line off of the reel until the messy part is going and then carry on reeling in the line.
When the fishing line is parallel with the lip of the spool, stop winding the line on. You must ensure it is no over spooled else the line will fall off. Also, ensure the line isn’t under spooled or you will limit the distance of your casting.
Once the reel has enough line on it, leave about 6ft of the line hanging from the rod, cut the line and leave the line loose so you can tie on your end tackle.
Setting Up The End Tackle
Attach the rest of the fishing rod and feed the line through the eyes of the rod, giving yourself 6-feet of spare line.
I would advise that you use a Safezone Leader as they are much easier to use than rig tubing.
If you are using a Safezone Leader, follow this, if you are using rig tubing, skip to the next section.
Setting Up With A Safezone Leader
- Get a Safezone leader, a tail rubber, and a lead clip.
- Feed the lead clip onto the Safezone leader and pull the swivel of the Safezone leader onto it until it clicks.
- Feed the tail rubber onto the Safezone leader so it slides over the lead clip.
- Tie the Safezone leader onto the fishing line using a grinner knot and tighten the knot down, ensuring to wet the knot before pulling tight.
- Trim the tag off of the knot.
Setting Up With A Rig Tubing
- Get a piece of rig tubing, a tail rubber, and a lead clip.
- Feed the fishing line through the rig tubing until the line comes out of the end.
- Push the tail rubber onto the fishing line.
- Thread a lead clip onto the fishing line.
- Tie the fishing line onto a swivel using a grinner knot and tighten the knot down, ensuring to wet the knot before pulling tight.
- Trim the tag off of the knot.
- Pull the swivel into the lead clip and push the rig tubing into the tail rubber.
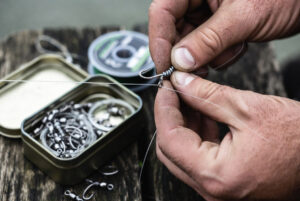
Setting Up Your Rigs
The easiest method when you are starting out is to use ready-made rigs. But even if you do use ready made rigs, you should learn the skill of how to tie your own rigs so that you can save money later down the line, and so you can tie rigs that allow you to adapt to the conditions you are fishing in.
If you choose to use ready-made rigs, it’s a simple case of taking the rig from the pack and clipping it on to your Quikclip that is attached to the swivel in the lead clip.
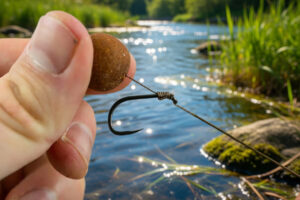
If you chose to tie your own rigs, you need to tie a hair rig, creating a loop at the end, which then attaches to the Quikclip.
Finalising the Setup
All that is left to do, is to add your hook bait to the hair rig if you haven’t already and add a 1-2oz lead to the leadclip and easy the tail rubber over the leadclip.
Choosing A Carp Lake To Fish
Because you are only a beginner, choosing the right carp lake is really important.
If you target a lake that only has large wise carp, it’s likely that you will go home without catching anything.
You need to target a “runs water” for your first session. A “runs water” is a lake that has lots and lots of small carp up to 10lbs in weight, as they are usually easier to catch because they aren’t as wise as the big fish.
You need to find a commercial lake where you know there are lots of small carp. Choosing a woodland pond to fish and not knowing what, if anything, is in the pond would not be a good start as you are unlikely to catch anything.
If you can get a friend to tag along, it will make your time at the lake easier by having a helping hand nearby to help with the net and getting things ready when you do catch your first fish.
Be sure to check the rules before turning up at a lake as some lakes won’t let you use barbed hooks, others need large unhooking mats and others require minimum net sizes, so make sure you are able to follow the rules before you unload your car.
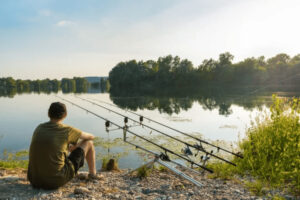
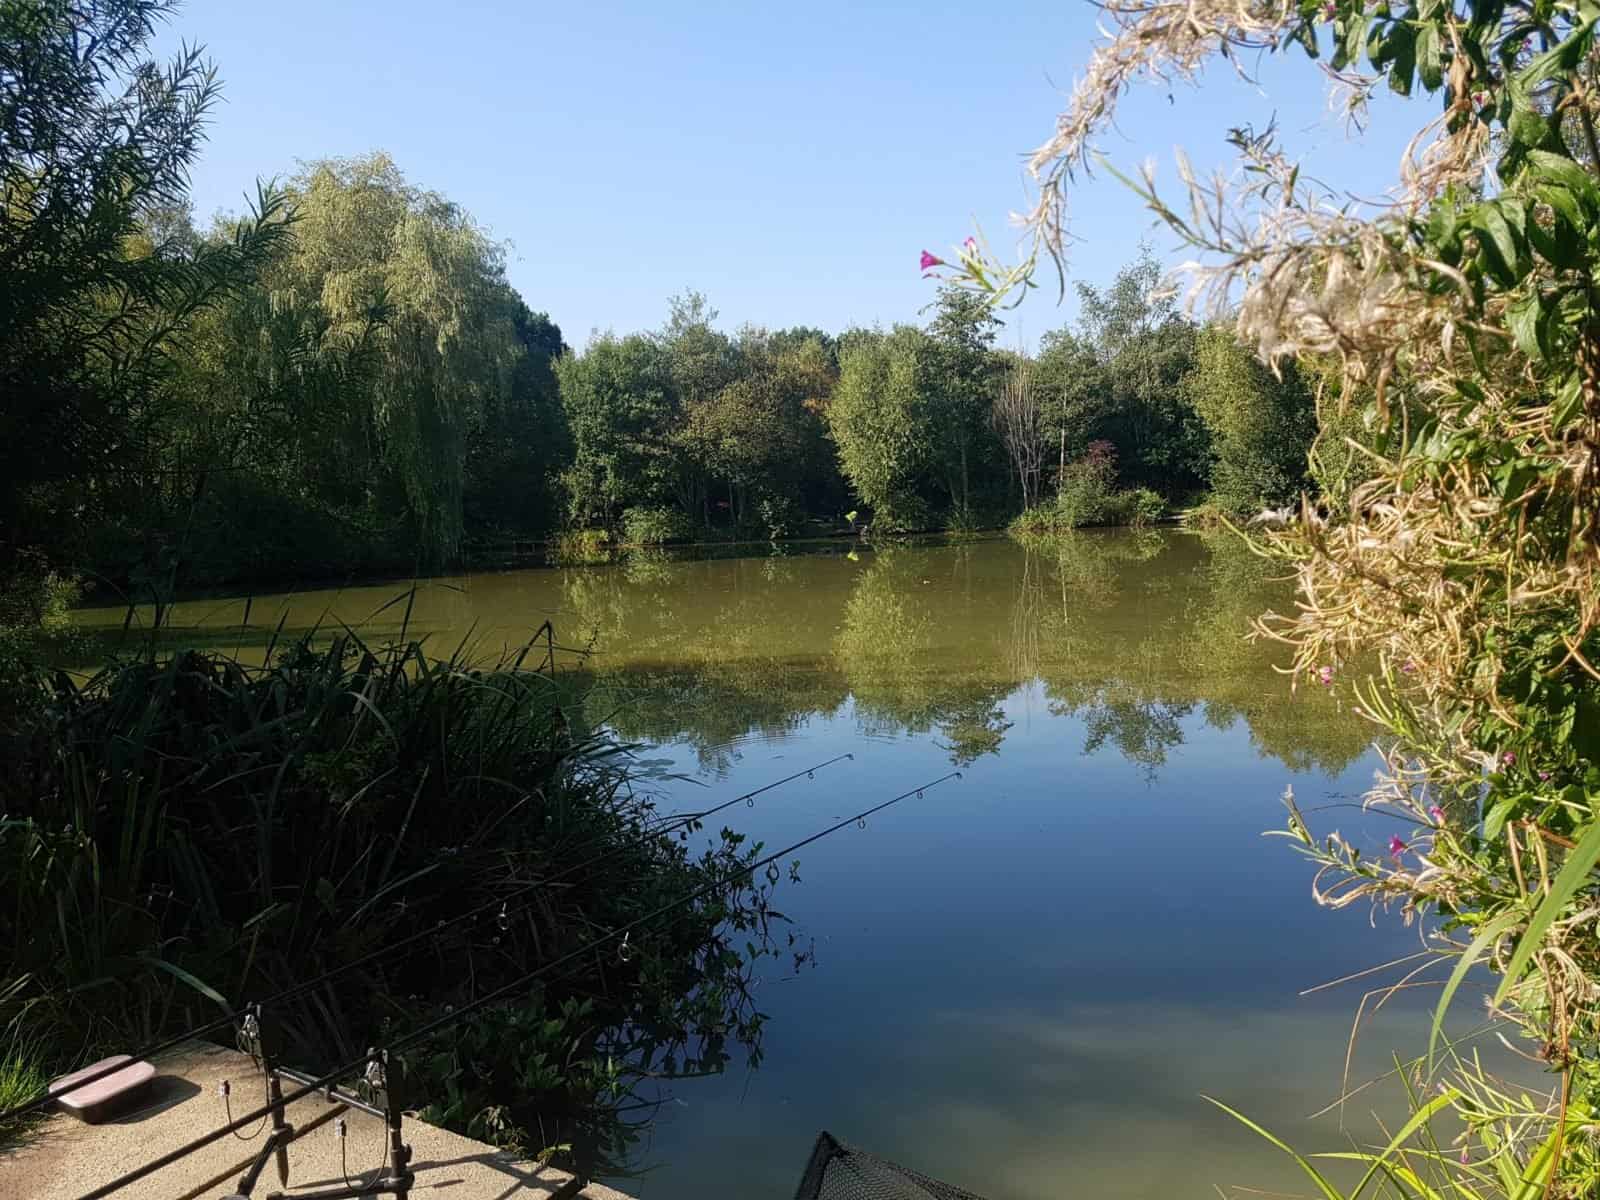
Choosing A Swim To Start Fishing
Before you unload your fishing tackle from your car when you arrive at the lake, take your bait and a bucket and go for a walk around the lake to try and find the carp.
If you have decided to fish a runs water, it is likely that it won’t take long for you to find the fish and you can get fishing. But be sure to find the fish before you settle for a swim.
Watercraft – Things To Look Out For When Choosing A Swim
- Showing fish – fish that are jumping out of the water, or fish that you can see swimming on the top of the water.
- Cloudy and muddy water – when fish feed, they trough through the lake bed to sift through the mud looking for food.
- Bubbles – big bubbles are normally signs of fish feeding.
- Snags – fish feel safe near snags as they can hide amongst them when the lake gets busy.
- Islands and features – features such as islands, lilypads, and reeds are the perfect retreat for the carp as the plant life will hold insects and other things for the carp to feed on.
Once you find indications that fish are in front of you, make sure you have features to fish to in the swim you choose to fish. This way, you can feed areas and drop rigs into those areas when the spot you are fishing goes quiet.
Make sure you can cast to the fish from the swim you have chosen also, by making sure there aren’t trees directly above you to get caught in.
Read this: How to care for carp once caught
Read this: How to catch carp
Last Updated on March 10, 2026 by Shane
I have made a lot of mistakes during my fishing sessions and don't want you to make the same mistakes. I've learned the hard way over 20 years of fishing most weekends, testing, tweaking, and testing again and now want to help you excel with your carp fishing.
If you need any help, you can reach me at Fishing Again's Facebook page