I want to go through a new tool I have been playing with recently. It’s called the water wolf underwater camera.
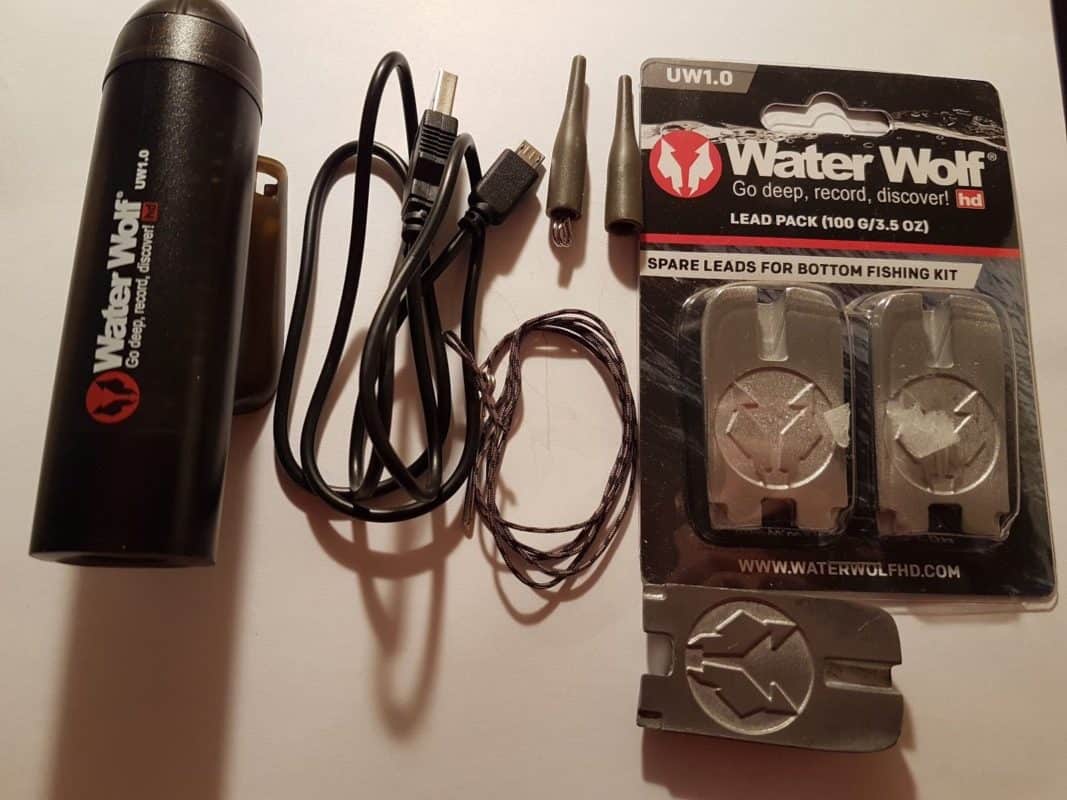
The water wolf camera is designed specifically for fishing and you’ll notice it has quite an aerodynamic shape, this allows it to be cast into the water, but also to glide through the water when being reeled in. It’s made out of two components, the housing and the endcap, which makes the water wolf completely waterproof.
The great thing about the design is that the deeper the camera goes in the water, the more pressure there is on the housing, so the more watertight it is going to be, so far it has been tested to 200m and the tests were successful.
Water Wolf Instructions
Let me just show you how simple it is to use the water wolf, to take off the endcap of the camera you just pushing your fingernail in the endcap and then you wiggle it from side to side a few times and you can actually put it open, if you’re not able to pull it out with the power of your fingers, the trick is to take a little bit of fishing line or string with a relatively big not at the end, at the end of the little cap is a hole and you can just pass the string through that hole, then you can very easily remove the cap.
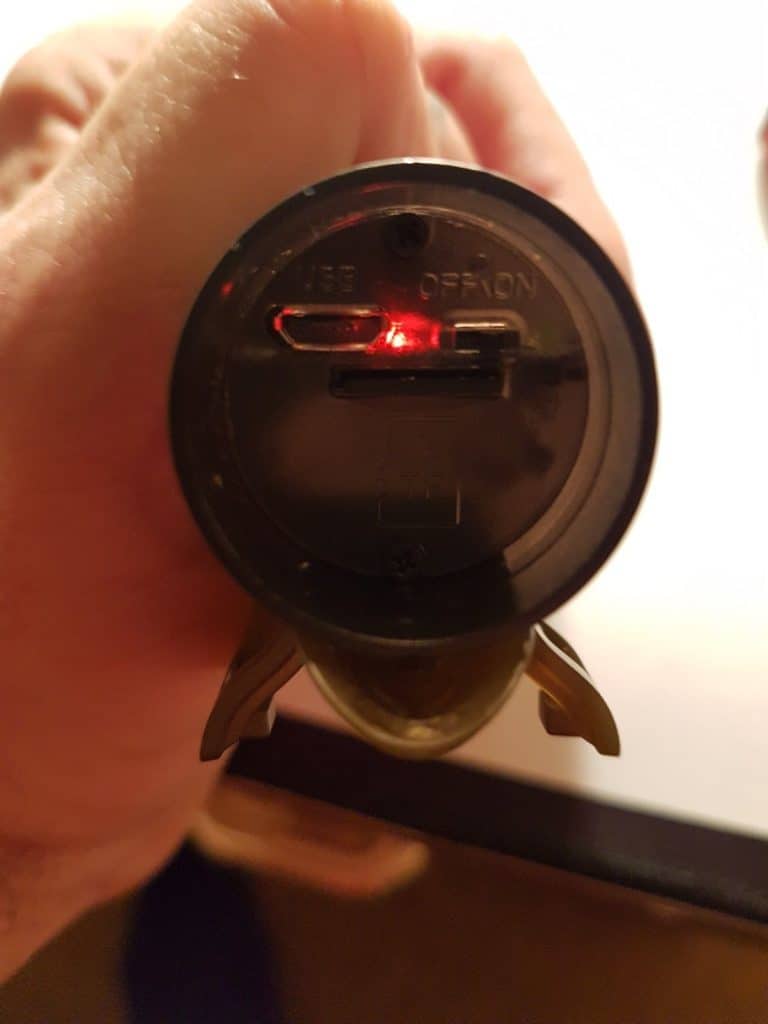
The camera pretty much has only one functional button, you will see it can either be switched off or on. When you switch it on it’s going to take five to six seconds before it actually reads the microSD card when it does that, it is going to start blinking red and when it blinks with a 1-second interval you know that the camera is recording. If you switch the camera off, you can see that the light goes a solid red and then it turns off. Once it is turned off, you know that you can safely remove the SD card.
Water Wolf Memory Card
Water Wolf MicroSD Card
The SD card is a 16GB MicroSD card and this is equivalent to approximately a full battery and that’s where this camera is really brilliant because a four hour recording time is around 16 gigabytes of data.
The card goes into the hole near the power button, push the card into the slot and you will feel it click, do the same to take it out. There is also a micro USB port under the cap which is used to charge your camera. When your camera is charging it turns on a blue light and once the blue light turns off, you know you’re fully charged.
It’s very simple, turn the camera on, wait for the red light to start blinking after around 5 seconds, then you can push in the end cap, make sure that the plug is fully inserted so it’s really nice and tight and you’re then ready to film.
Camera Mount
The camera also comes supplied with a little pouch and this pouch is pretty smart, you can actually use that to mount the camera in a lot of different positions. You put the camera inside the pouch and with the velcro straps you can stretch it onto your landing net, you can stretch it onto your fishing rod, you can strap it onto your hat so you can actually film what is going on either in or out of the water.
Ideally, you need to make sure the camera is facing up. If it ends up facing down, you can simply flip the recording in your video editing program, but it’s good to have at least a horizontal angle if you are using it out of the water.
Stabilizing the Camera In The Water
In order to stabilize the camera and make it easy to mount onto your fishing line, they have designed this little stainless steel stick with two plastic parts that slide up and down the steel part.
When you put the camera on, you will see that there is this an opening between the two plastic parts you then just push the plastic parts together into the little groove and that holds the camera perfectly in position.
Then you take the top part and you push that down into the groove as well so you lock the camera from sliding up. The stainless steel part is where you tie your leader or your line you can tie that down towards your filming area, you can actually pull that into the semi-soft part and when you put that into the semi-soft part, you lock the whole thing together.
Water Wolf Case
Add Weights To Get A Better Angle
The water wolf also has a keel system so without any weight this camera floats with a 5-degree downward angle towards the lake bed. You can add weights to the camera to give it a different angle. Supplied with the camera, are three different weights, small, medium and large. With the smaller weight, the camera still floats so the camera just stays on the surface, but just barely floating and that’s really nice presentation when you’re drifting or you just want to film over an area. Also when you’re trolling or retrieving a lure that doesn’t have a lip or stays relatively high in the water and doesn’t dive, the small weight is perfect to centralize the frame so it’s actually filming straight onto the lure.
Using the Heavier Weights
When you get a heavier lure or a diving lure, you want more of an angle, because that lure will sink and that’s when you add a heavier weight to the camera. When we add the two heavier weights, the camera will actually sink. With the medium weight, it will sink the camera slower and with the heavier weight, it seems relatively fast. When you add the heavier weights, you will see that it will film down towards the bottom. So when I’m probing and I want to film an area to what is on the bottom, this is the right angle to have the camera.
When you use the heavier weight you will get more of an angle and actually sinks quite fast, so if you want to get down through the water fast or you want to stay close to the bottom, or when you use lures that dive a bit more than others, put the heavier weight on and you will see that it will sink relatively fast and when you pull it through the water, it will a lot more of an angle to it.
Using The EVA Float
The camera is supplied with a heavy weight on, you can actually use that the EVA float that comes together with with the camera. You will little slot EVA float, so you just put that on your line and push it down over the tube and turn it so that the eye locks inside the EVA float.
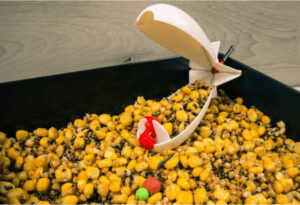
When I have this set up I can film any bait, like trout bait, worm, small live bait, dead bait, whenever I have those baits on my lure, this camera actually films everything that goes on under the surface. With a traditional float, you can have the camera little further down the line, then when you have waves, of course, the picture is not going to be very stable, which is not what you want. The key to getting good footage with the water wolf is that the camera needs to be held steady. The more steady the retrieve you can get, the fewer waves, less movement, the more clear and the better the picture will be.
The Water Wolf Is Better In Clear Water
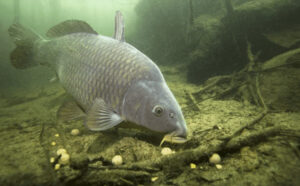
Another thing is, we need clear water. If anything is suspended in the water like algae it is going to be very difficult to see anything, in clear water you get a fantastic view. The water wolf is very simple to use, extremely educational, you can learn so much from actually filming what’s going on beneath the surface and it’s a lot of fun to work with.
Obviously, if you fish murky waters, then this might not work as well for you. Typically your view will be restricted if you fish waters with clay or muddy lake beds, whereas, with gravel pits and streams, the Water wolf works really well.
Last Updated on June 11, 2026 by Shane
I have made a lot of mistakes during my fishing sessions and don't want you to make the same mistakes. I've learned the hard way over 20 years of fishing most weekends, testing, tweaking, and testing again and now want to help you excel with your carp fishing.
If you need any help, you can reach me at Fishing Again's Facebook page