Today, we are taking a look at the FishSpy marker float. This FishSpy underwater camera review is a bit different to the others because you’ve probably already heard of and seen a couple of videos on the FishSpy before, so I’m not going to run you through all of the finer details, but what I will do is run you through the basics, and then I’ll explain a few different ways that you can use it to your advantage.
Think of this article as me showing you the reasons why the FishSpy will definitely help you with your fishing, and hopefully by the end of this article you will finally be convinced to part with your money and get a FishSpy.
Just so you know, Amazon has the lowest price on the web to date, you can find it here >> Fishspy Underwater Camera
FishSpy Techniques
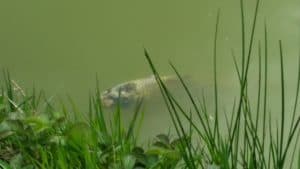
Finding clear spots – If there are patches of weed on the lake bed, I will cast out into the lake, and then quickly pull the rod tip back sharply so the lead lifts out of the weed and lands again on the lake bed, then repeat that until I find a hard patch. Ill then let the float out hit record and slowly reel it down the to the lake bed and let it back out again so I can review the video. If the FishSpy confirms the spot I have found is clear, I will wind the float back down and clip it up to the line clip so I can measure the distance with distance sticks back on the bank. I can then cast back out to the exact same spot with my rigs. Using the FishSpy in this way confirms to me that the bottom is clear which gives me confidence. I will also cast the FishSpy out to check whether the bait has been eaten, or whether the rig is sitting properly.
Prebaiting – The FishSpy has its uses even if you aren’t fishing. If you are prebating a spot that you can’t see from the bank, such as open part of the lake, you can have the FishSpy clipped up to the spot at the right distance, you can cast the FishSpy out to your spot to check whether the bait is being eaten. You can then use the FishSpy as a marker float to aim at when baiting, then once finished, you can then check to see if you have enough bait on the spot.
Restricted access – A guy I know fishes a lake that doesn’t have access to the opposite bank. He had been fishing for quite some time and couldn’t catch any fish. When he cast out, it felt like he was hitting a solid lake bed, but something wasn’t right as he wasn’t catching anything. He bought a FishSpy and cast it out to his spot on the opposite bank so he could see his rigs, which revealed the reason he wasn’t catching. His fishing line was sitting over dead reeds which were lifting his line up in the air so the rig wasn’t ever sitting right. He used the FishSpy to check the area around the spot and noticed that the reeds were covering the lake bed for up to a rod length away from the opposite bank. So he cast his rigs further away from the opposite bank so that it wasn’t in the reeds. An hour later he caught his first fish.
How To Use The FishSpy
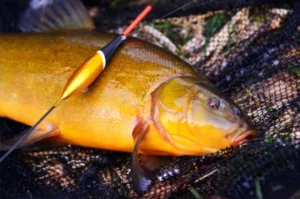
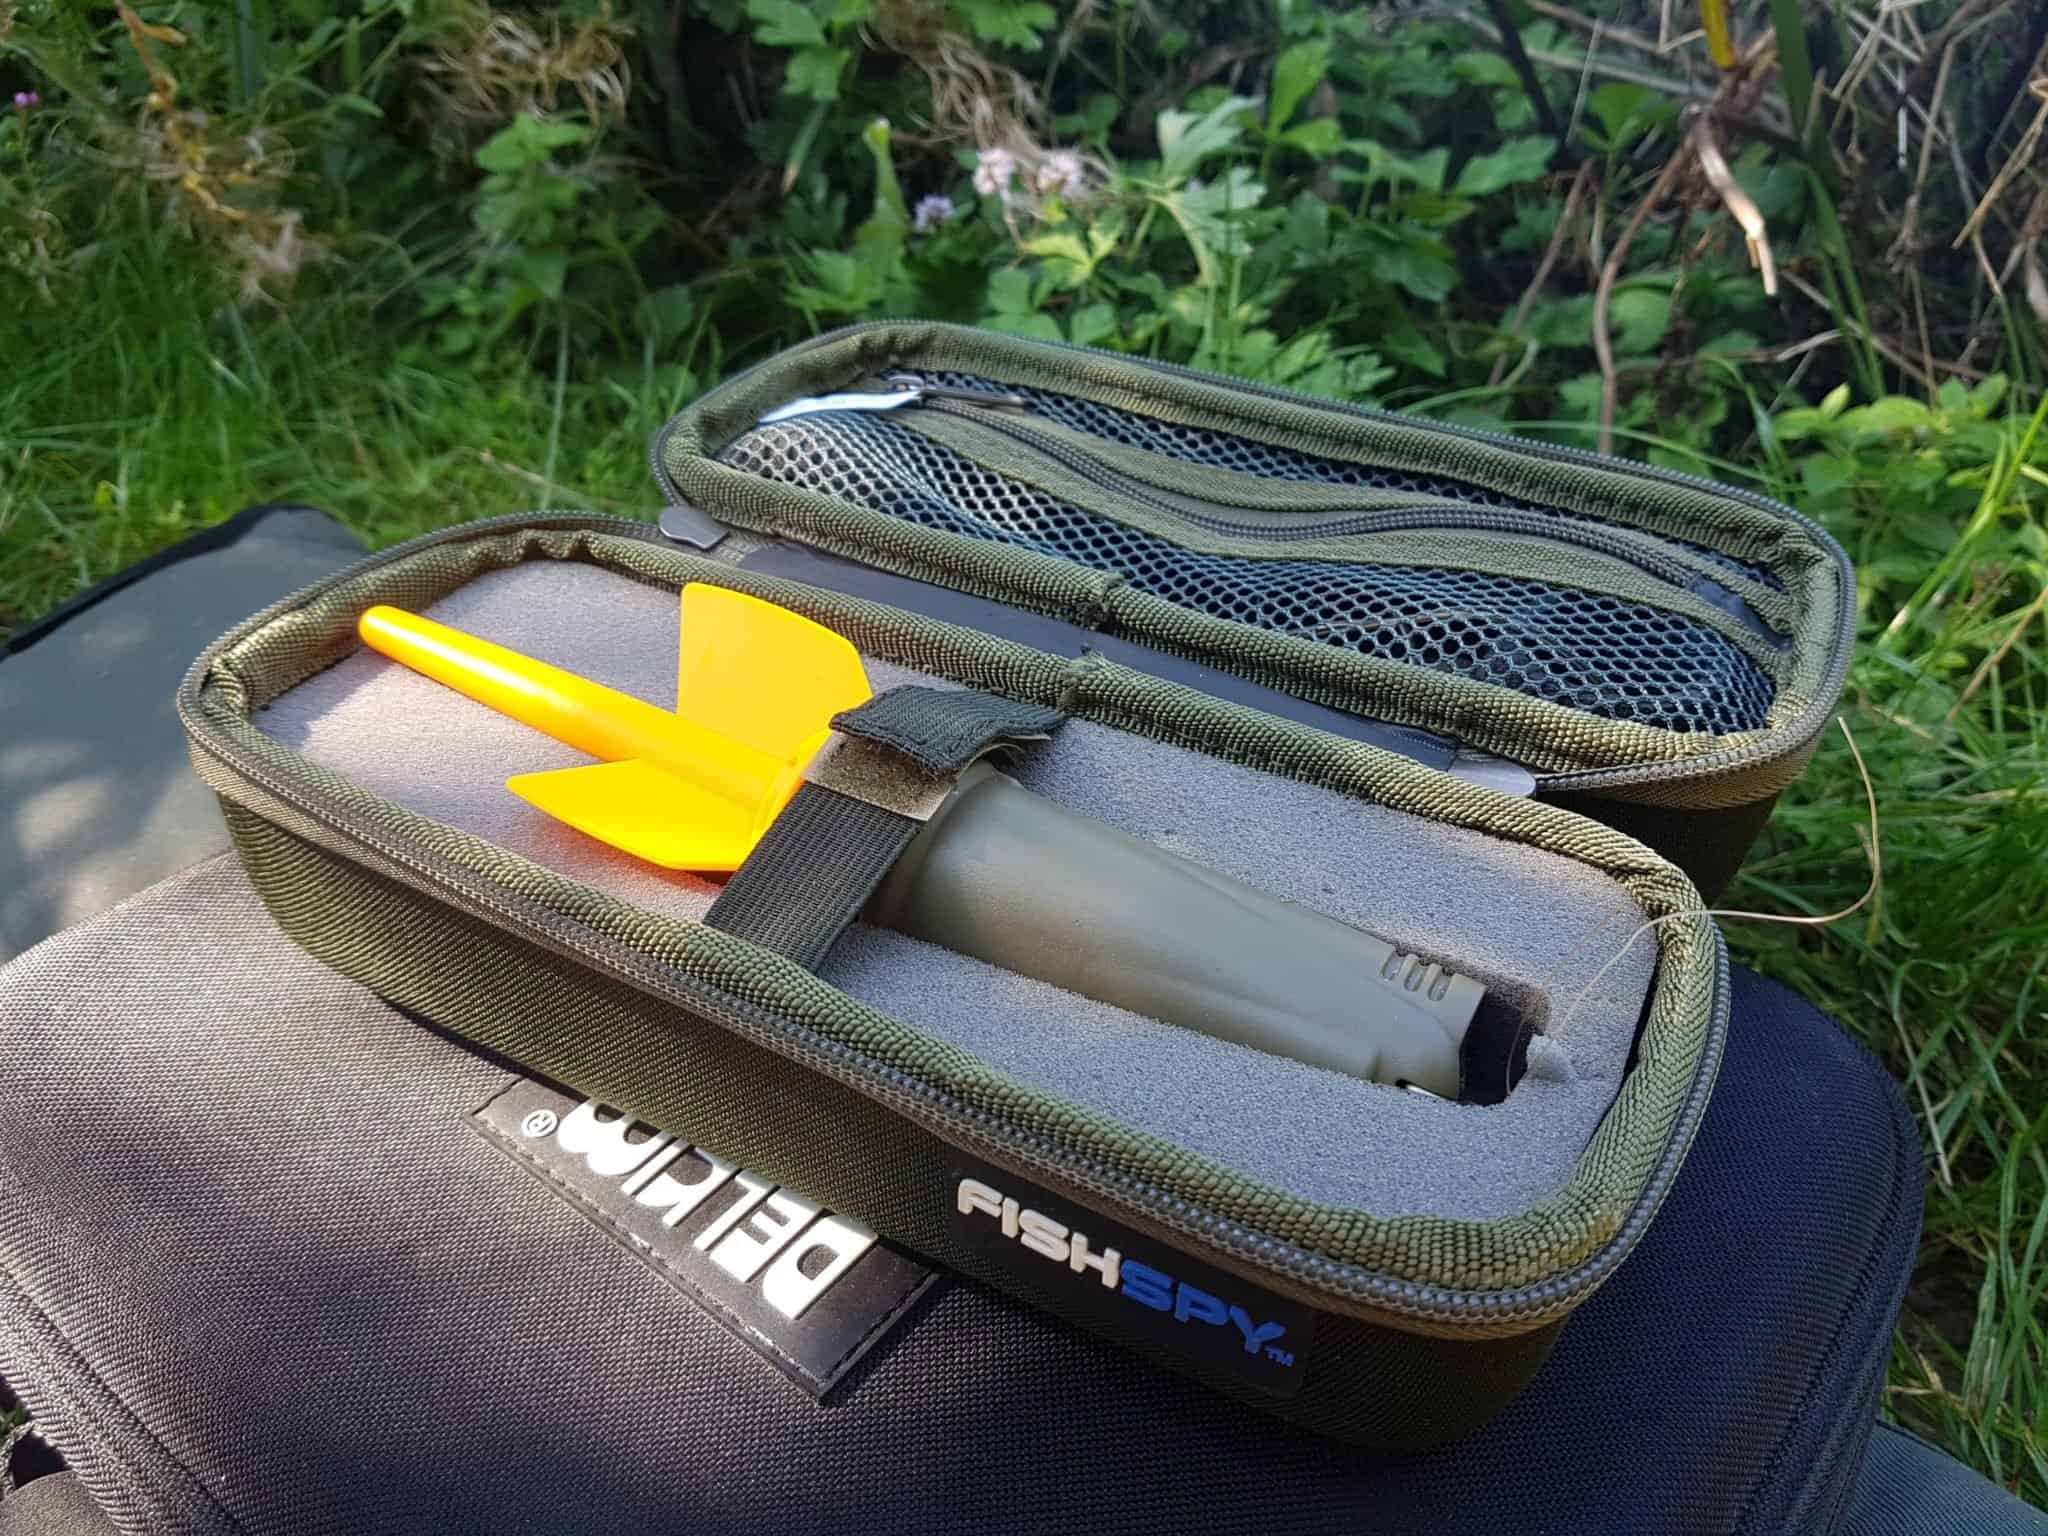
So, just to run you through the main body of the float itself, basically you’ve got an orange flight on top if you unlock the ring, the flight comes off, which will reveal the antenna which is a green stem inside.
There is a charging port just inside. There’s a red ring, you will see, whenever you’re taking the flight on or off, you must make sure that red rubber seal is sitting properly because that is what makes the FishSpy waterproof.
The foam collar slides on and off, which is to help with buoyancy.
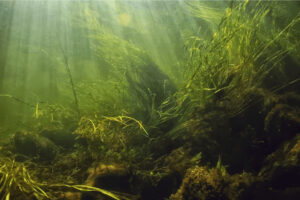
There’s the most important part on the very bottom of the float, the camera. It’s a really good quality camera, if you’re fishing in really clear water, the camera will record video similar to what a human would see. If the water is slightly murky, the visibility is going to be slightly less, but you’ll still be able to see what’s going on the bottom you, just have to make sure that the float is closer to the bottom. In gin clear water, from 5 ft up I can see the bottom of the lake bed to the point of being able to see individual stones from the video on my phone.
In murky waters, you will need to record the footage and work more slowly and methodically with it, and then watch the footage back through your phone.
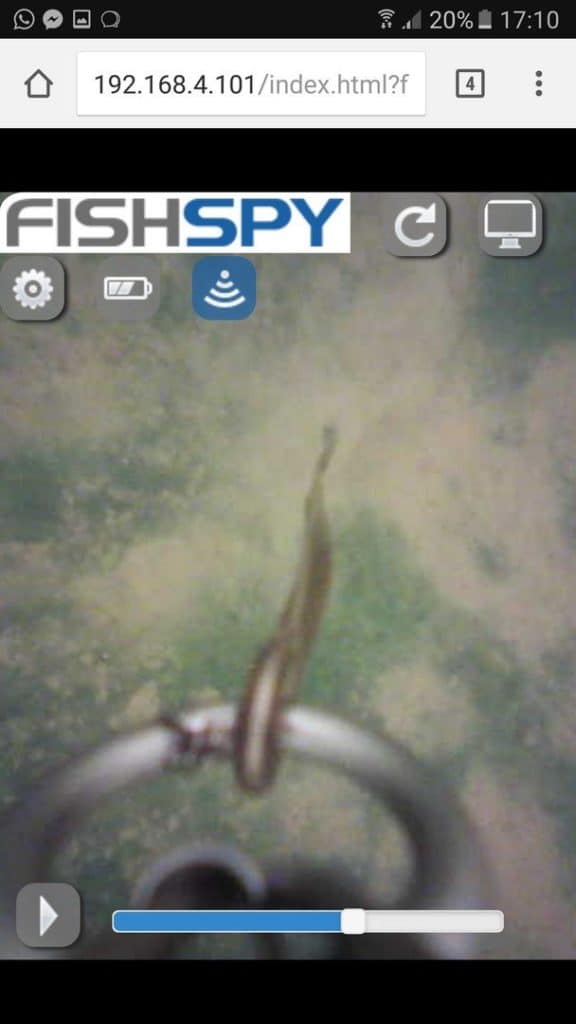
On the top on the Marker float on there’s basically a green twist lock, just above the foam ring, if you turn that once it locked in position if you turn it again it will switch on, and now activated. You don’t need to do anything else with the FishSpy unit, all you do is you connect it to the app on your phone, you cast it out and then basically pay some line off, measure it is as you normally do the standard of marker float, and when it is on the surface, you can hit record on the app on your phone and then you wind it down, pull it along the area you want to investigate, pop it back up to the surface or reel it in and then watch back what you just recorded.
FishSpy Specifications
So the FishSpy has a range of roughly 60m if you use an Apple iPhone and I believe it works up to 100m if you’re using an Android device.
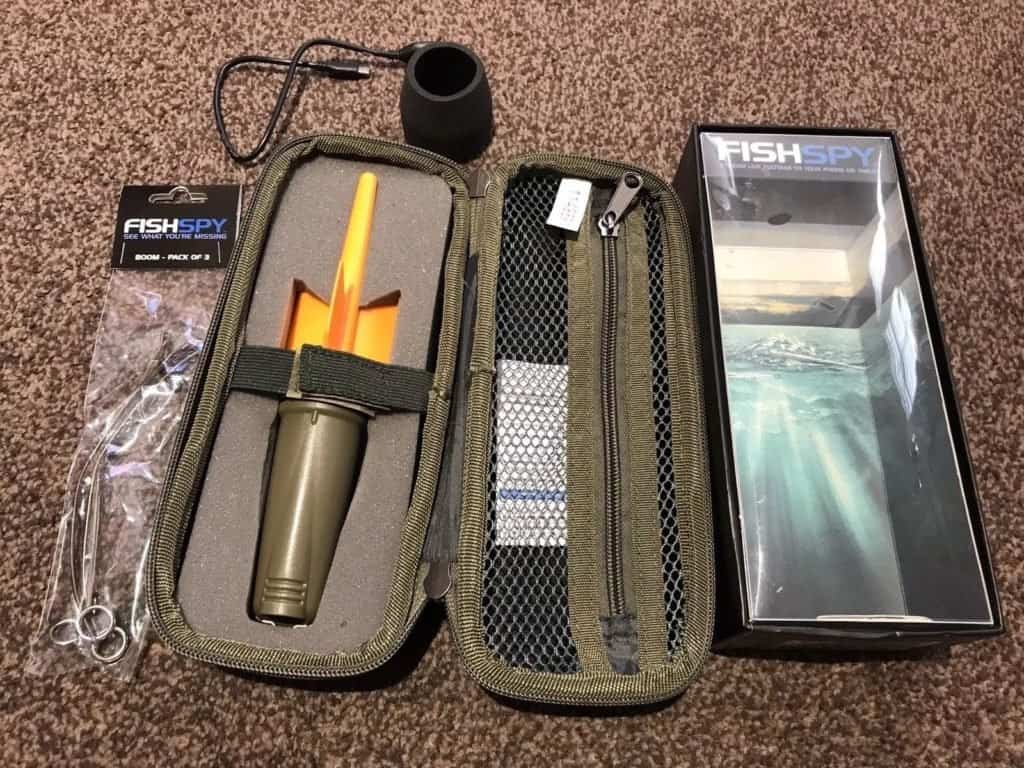
There is a built-in memory card which will hold up to 7 hours worth of footage
The battery life on the FishSpy will give you 3 hours continuous use.
In the box, you also get this stem which is for attaching your lead to. it’s got a really large metal ring, which your line runs through. Make sure that your line runs through it smoothly, then you just clip you lead on to the other using a quick link.
I would highly recommend that you use at least a 4 ounce lead, obviously the FishSpy is a large bulky item and is extremely buoyant, so if you’ve got a 2-oz lead on the line, when you are dragging it back across the bottom, it’s very likely that between the buoyancy of the float and the angle of your line, it is going to be lifting the lead off the bottom and you are not going to get a true feel for what’s really out there on the lake bed as the lead will be off the bottom most of the time, so make sure you got at least a 4-oz lead on there.
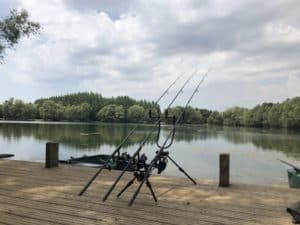
FishSpy Tackle Setup
One of the other things I would highly recommend is a using the FishSpy on a spod setup you want quite a stiff rod. I use a 4.5lb test curve spod rod, which has 30lb braided mainline on. Then I’ve got a 50lb shock leader. The last thing you want to be doing is cracking off or pulling in some weed and then having a line breakage, and then your float is left out in the middle of the pond drifting around. So make sure you use strong reliable tackle to use it. I just tie a large loop on the end of my braided shock leader, and then I just feed the line through the metal loop at the bottom of the FishSpy, put the FishSpy through the leader loop, and then that way I can quickly take it off and then I can just loop to loop my spod on there and put some bait on the area if I want to.
There really are so many different uses for it. Until now, you’ve only been able to keep an eye on the areas you have prebaited if they are in the edge, or if you’re lucky enough to fish a venue where you can use a rowing boat, but now you know that if you are fishing 30, 40, 50, 60 yards out, you’ll able to just cast the FishSpy out and as long as the water is clear enough, you should be able to wind it down, check the bottom, see what’s going on, see if they have removed layers is silt, see if they’ve eaten the bait, see if there is fish in the area as well.
Mapping Out Your Swim With FishSpy
Another use for the FishSpy is to use it in place of your traditional marker float setup to map out your swim.
The difference is, each time you think you have found a spot of interest of the lake bed, whether it is gravel, silt, or weed, you will be able to confirm your suspicions with the camera on the FishSpy.
There is a method you have to follow, but it isn’t too dissimilar to how you use the marker float.
The idea behind it is that you cast the FishSpy towards a far bank marker, and then each time you reel back, you make references as to the spots you have let the float out on to measure the depth.
With normal marker float work, you would cast the float to a horizon marker, clip the line up to the line clip, drag the lead along the bottom for around 6ft by pulling the rod tip away from the bank at a 90-degree angle to the floor, then wind the line in so your rod is pointing at the water again, then drag the line back and repeating this sequence until your float is back at the bank. Whilst methodically letting out the marker float to check the depth.
With the Fishspy the sequence is very similar, but we want a clear picture as to what is on the bottom of the lake each time the lead stops.
Now, if you have read any articles on this website, you know that I am an advocate of printing off lake maps and making notes whilst you are fishing. This is to build up a picture of what is on the lake bed, but also to figure out if there are any patterns of the fish that you can use to your advantage. So make sure you print off a lake map from Google maps before you head to the lake, or take blank paper and a pen with you so that you can sketch the lake out when you get there. You can also use Google maps to sketch the outline of the map by hand.
So to be able to actually record the spots and visually record what is on the bottom, we can do this in a couple of ways.
- The slow way, but more accurate.
- The faster way, which is less accurate and takes a little more thinking.
The Slow Way – More Accuracy
With your lake map, mark what swim you are in, and then draw the far bank marker on the map that you are aiming for.
Cast out your FishSpy as far as you can towards the far bank marker and clip the line up to the line clip when your leads hits the lake bed. Take a mental note of whether the lead hit a hard lake bed or soft.
If you are fishing in less than 10-foot of water, wind the line in for 6 turns of the handle (if you have a big pit reel) or 10 turns of the handle (if you have a smaller reel), this is to give yourself so line to payout without interfering with the line clip.
If you are fishing in deeper waters, you may need a few more turns so that you don’t interfere with the line clip.
Once you have wound the line in 6 to 10 turns (write down on the map how many turns on the lake map so you have a reference), pay out the line one foot at a time until the FishSpy is on the surface, then note down how deep the water is on your lake map.
With the FishSpy on the surface, make sure you are connected to the FishSpy and hit record.
With the FishSpy recording, wind the line in slowly until the FishSpy is on the bottom of the lake by the lead, making sure not to move the lead. Then let the line back out slowly, one foot at a time until the FishSpy is back on the surface. Once the FishSpy is back on the surface, you will be able to watch the footage back and see if the spot is clear. Note down your findings on your lake map.
Stop the recording, wind the FishSpy down to the lead, and wind the reel in a few turns to find the next spot. Again, noting down how many turns on the map and repeat the process.
The amount of turns on the reel you choose between spots is entirely up to you. If you have a big lake, you may choose to do five turns of the reel, but obviously, the fewer turns, the less detail of the lake you will be recording.
The important part to remember is that when the lead is back at the bank, you MUST note down how many wraps on the distance sticks it is to your lead clip. Then, to find your spots, you know is it X amount of wraps plus however many turns it is back to your spot. Make sure you note down the number of wraps on the banksticks your starting point is towards your far bank marker.
If you find a particular spot that you want to fish, cast out and hit the line clip, then count how many winds it is back to your spot, confirm the spot is clear and then clip it back up. You can then wind the lead back in, count how many wraps it is to that exact spot, and make a note of it on your map.
The Fast Way – Less Accurate
The fast way is very similar to the method above, but there are a couple of subtle differences.
The idea behind this method is to do all of the recordings first, then review the footage to find clear spots. This method has an added advantage too, that you will be able to see what is on the lake bed in between spots as you are reeling the lead in.
Before you cast out the FishSpy to your chosen far bank marker, connect to your FishSpy to your phone and start recording.
Then cast the rod out, and feel the lead down. Clip the line up to the line clip and reel in 6 to 10 turns on the reel.
Let the FishSpy settle for ten seconds, slowly let the line out a few feet, then reel it down slowly back to the lead.
Reel the lead back a few turns, again, the amount of turns on the reel you choose between spots is entirely up to you. If you have a big lake, you may choose to do five turns of the reel, but obviously, the fewer turns, the less detail of the lake you will be recording. Make sure you keep the number of turns consistent to make it easier for yourself.
When you are on the next spot, let the line out a few feet, then reel it down slowly back to the lead.
Repeat this process until the lead is back at the bank.
Once the lead is back on the bank, measure how many wraps it is around your distance sticks and mark it down on your lake map. Don’t forget this step, else you will be wasting your time.
Now the technical part is watching the footage back and noting down the findings.
Play the footage back. You will see the cast and see the lead land. You will then see the lead been reeled in, then stop (which is when you let it settle for ten seconds), as the line is being paid out, you will see what the lake bed is made up of, allowing you to note it down on your lake map.
Each time you watch the Fishspy being let up, you know you’ve reeled the line in another few times.
So for example, you cast the FishSpy out, that’s 22 wraps. You find a spot that is clear on the fourth reel in and you are reeling three turns each time. That’s 22 wraps, plus 12 turns on the reel.
Once you are back on the spot, you can let the line out to measure the depth, hit record on the FishSpy to confirm the spot is clear. Then clip the line up on that spot and reel it in so you can measure it on the distance sticks and note it down on the lake map.
Whichever method you choose, repeat the process at different far bank markers until the swim is mapped out and written down on your lake map.
Amazon has the lowest price on the web to date, you can find it here >> Fishspy Underwater Camera

I have made a lot of mistakes during my fishing sessions and don’t want you to make the same mistakes. I’ve learned the hard way over 20 years of fishing most weekends, testing, tweaking, and testing again and now want to help you excel with your carp fishing.
If you need any help, you can reach me at Fishing Again’s Facebook page
Last Updated on February 14, 2024 by Shane